 Loading... Please wait...
Save Money. Grow Your Own!
Fast Plain Box Shipping.
We ship to the US & Canada.
Grow Your Own!
10 Tips For Intalling A Wood Fence
Posted by Albert F on 5th Dec 2025
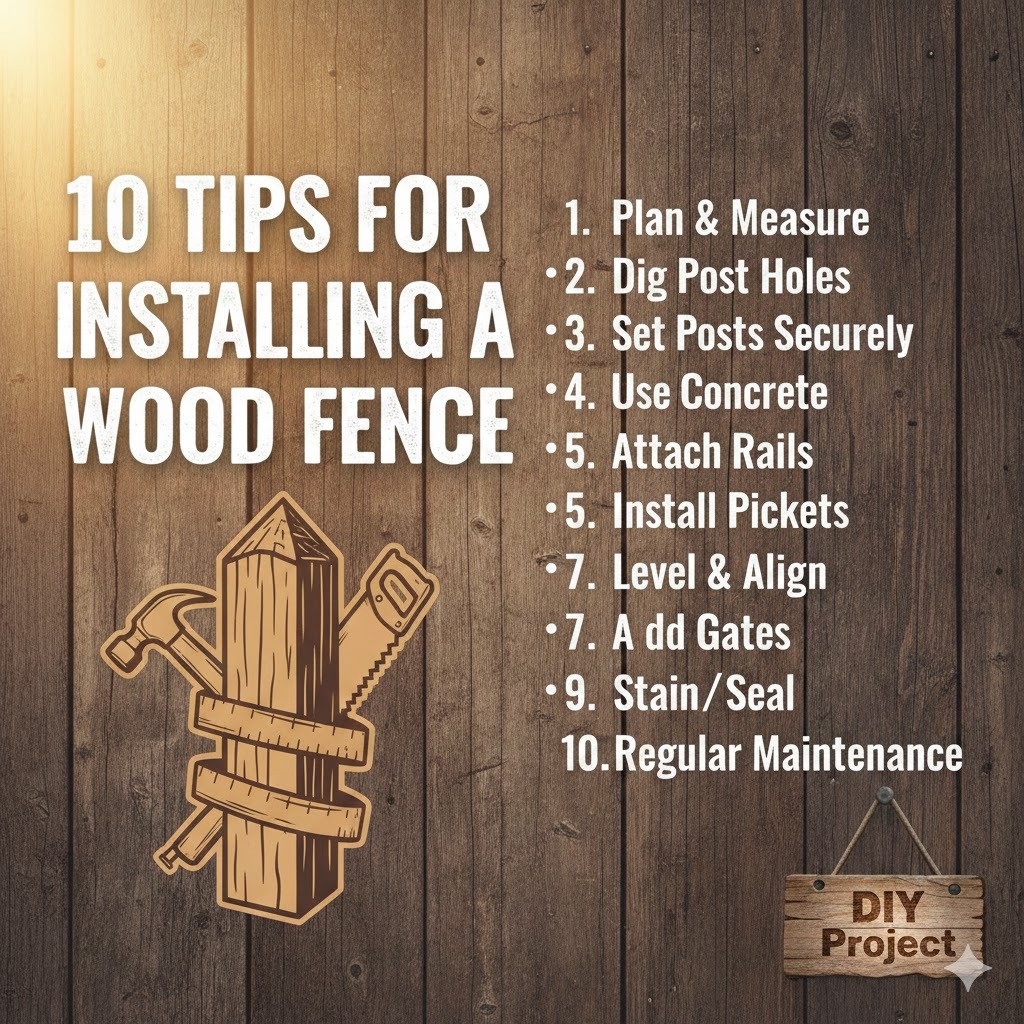
Installing a wood fence goes much smoother with a clear plan, the right tools, and attention to detail at each step. These ten tips help homeowners avoid the most common mistakes and end up with a straight, sturdy, long-lasting fence.
1. Know codes and property lines
Check local zoning rules, HOA guidelines, and permit requirements before you buy materials or start digging. Confirm exact property lines with a survey or existing markers to avoid disputes and having to move the fence later.
2. Plan the layout carefully
Walk the fence line, mark corners, and use string lines to visualize where the fence will go and how it will look from the street and yard. Decide where you need gates, how wide they should be, and how the fence will handle slopes or obstacles such as trees and utilities.
3. Call before you dig
Always call your local utility locating service so gas, electric, water, and communication lines are marked before you dig post holes. Adjust post locations if necessary to stay clear of underground lines and avoid dangerous, expensive damage.
4. Choose durable wood and hardware
Select rot- and insect-resistant lumber such as cedar, redwood, or pressure-treated pine for posts and rails. Use galvanized or stainless-steel screws and nails so fasteners do not rust, loosen, or stain the boards over time.
5. Set strong, deep posts
Dig post holes at least one-third of the post’s above-ground height, and often 2–3 feet deep, depending on fence height and local conditions. Add gravel for drainage and set posts in concrete, bracing them straight and plumb until the concrete cures fully.
6. Keep lines straight and level
Use a taut mason’s line along the tops and sides of posts so the fence line stays straight and the finished height looks consistent. On sloped ground, step or rack the panels carefully so the top line is even while the bottom follows the grade.
7. Install rails correctly
Attach horizontal rails (stringers) after the posts are solid, usually two rails for a 4‑foot fence and three for a 6‑foot fence. Fasten rails with corrosion-resistant screws or brackets and make sure they are level or follow the grade smoothly from post to post.
8. Space and fasten pickets properly
Set consistent gaps between pickets using spacers if you are not installing solid privacy panels. Predrill near board ends to reduce splitting and use appropriate exterior screws or nails to keep boards tight to the rails.
9. Protect the wood
Apply an exterior-grade stain, sealant, or paint once the wood has dried to protect against moisture, sun, and insects. Plan on periodic cleaning and re-coating so the fence maintains its strength and appearance for many years.
10. Design for gates and longevity
Use heavier posts and quality hardware (hinges, latches, and stronger posts like 6x6s for high-stress areas) where gates will hang. Make sure gates swing freely, clear the ground, and latch securely so they do not sag or strain the surrounding fence over time.
A well‑planned and carefully installed wood fence can add privacy, security, and curb appeal to your property for many years. By respecting local rules, setting solid posts, and protecting the material with proper finishes, you turn a simple wood fence into a long‑lasting investment that enhances both function and style in your outdoor space.